
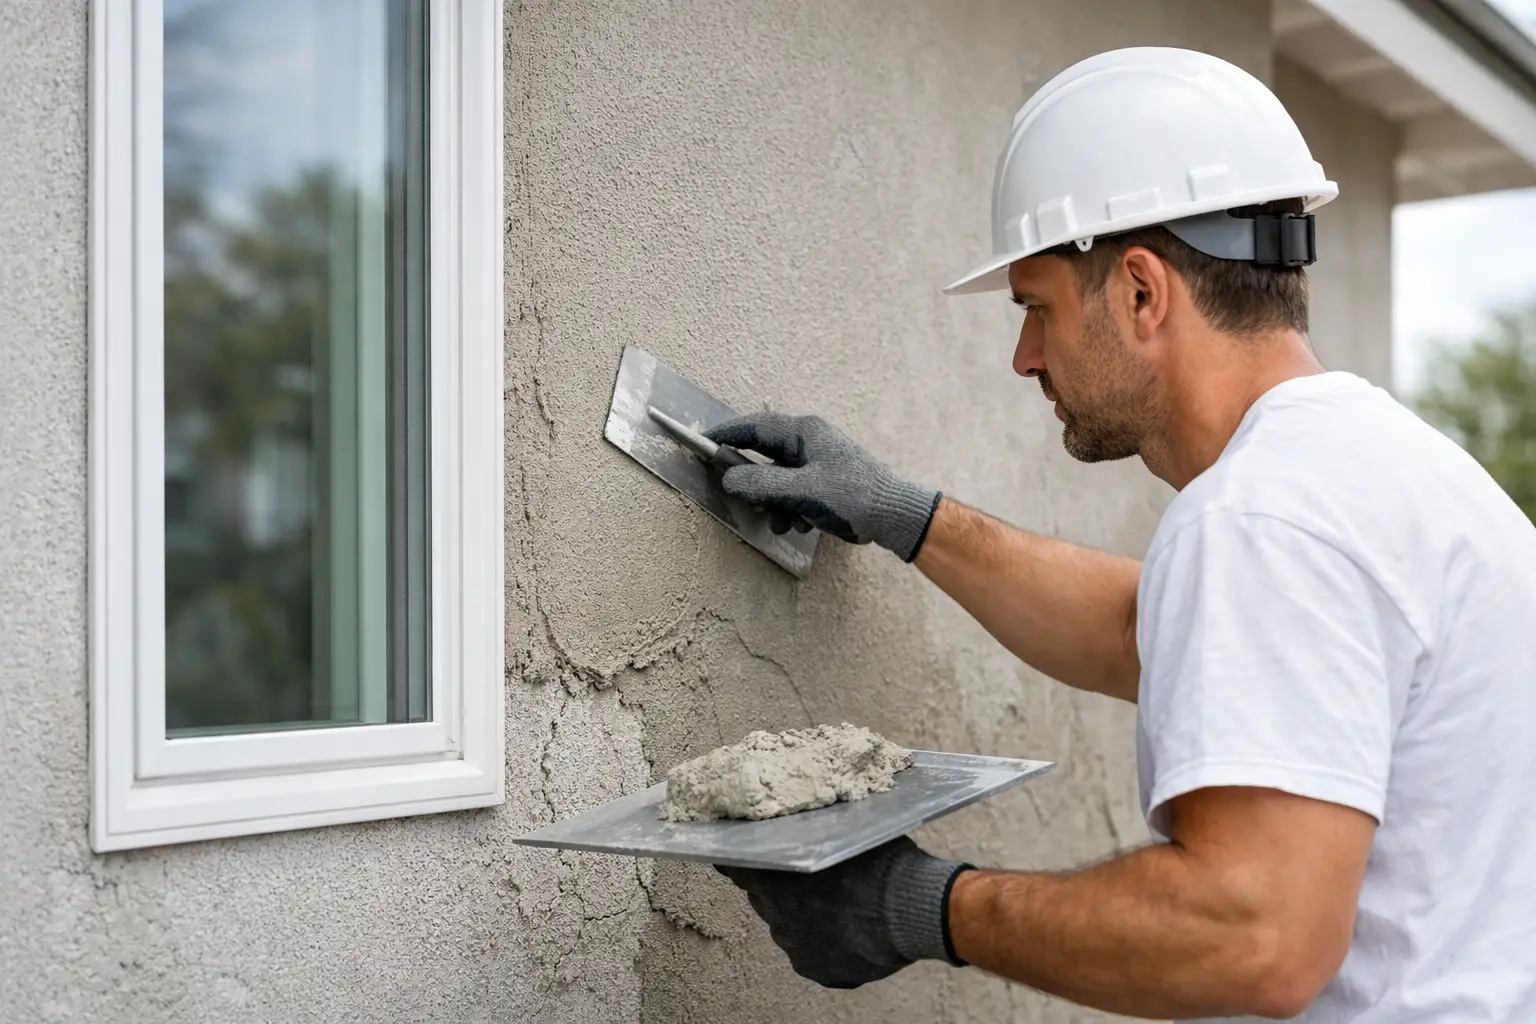
A replacement window or exterior door can transform a home, but the surrounding stucco needs just as much attention as the new unit itself. To prevent stucco cracks during installation, the work must begin before the old frame comes out and continue through final texture and paint. This is especially true in Arizona, where intense heat, dry conditions, aging finishes, and masonry construction can make an exterior more vulnerable to visible damage.
A clean, finished opening is not the result of a quick patch. It comes from careful planning, controlled demolition, proper weatherproofing, and a repair process that respects how the existing wall was built. For homeowners, that level of care protects curb appeal, helps manage future maintenance, and keeps a window or door project from looking like an afterthought.
Why Stucco Cracks Around New Openings
Stucco is durable, but it is not flexible in the way many homeowners expect. It is a cement-based finish applied in layers over lath, sheathing, masonry, or another wall substrate. When an installer cuts too aggressively, pries against the exterior finish, or removes a frame without supporting the surrounding wall, stress can travel beyond the intended work area.
Cracks can also develop when the existing stucco is already compromised. Older Phoenix-area homes may have hairline cracking from seasonal expansion and contraction, prior settling, moisture exposure, or past modifications that were not properly tied into the wall. Removing a window or enlarging an opening can reveal these conditions, even when they were hidden behind trim or sealant.
Not every small hairline crack signals a structural concern. Some are cosmetic and may have been present for years. Wider cracks, loose stucco, separation around the opening, or damaged framing deserve a closer evaluation before installation begins. The right approach depends on the home’s construction, the condition of the exterior, and whether the project involves a same-size replacement or a structural alteration.
Prevent Stucco Cracks During Installation With Proper Planning
The best protection starts with a detailed assessment of the opening. Before work begins, the installer should identify the wall type, existing finish texture, frame condition, flashing details, and any signs that the stucco is detached from its backing. This helps establish realistic repair boundaries and prevents surprises after removal.
For a straightforward replacement, the goal is to preserve as much of the existing stucco as possible while creating enough room to remove the old unit without forcing it out. On a block-frame or masonry home, that may mean using controlled cuts and staged removal rather than pulling on the frame until it releases. On wood-framed construction, it may also require checking for damaged sheathing or framing that could allow movement after the new unit is installed.
Opening modifications require even more coordination. A new patio door, stacking door system, or additional window for natural light may involve structural headers, altered studs, and a larger stucco repair area. The finish work should be planned as part of the project scope, not treated as a separate cosmetic detail once the unit is in place.
Protect the Stucco Before Removing the Existing Unit
A careful crew begins by protecting adjacent surfaces and defining the work area. The exterior finish should be cut cleanly where necessary instead of fractured through uncontrolled force. This creates a deliberate edge for repair and reduces the chance that cracks will spread across the wall.
The old window or door should then be removed in manageable sections. Frames, fasteners, and surrounding materials can be separated methodically so the installer is not levering against the stucco. This work takes more time than a rushed removal, but it is one of the clearest signs of workmanship that values the home as much as the product being installed.
A Stable, Weatherproof Opening Comes First
Stucco repair cannot compensate for a poorly prepared opening. Before the new window or door is secured, the wall needs a sound, level, properly supported base. The installer should inspect the sill, jambs, header, and any exposed framing for deterioration, gaps, or movement.
Water management is equally important. Arizona’s monsoon rain can expose weak points quickly, particularly around large exterior doors and west-facing openings. Appropriate flashing, vapor barriers, tar paper, and compatible sealants help direct water away from the wall assembly rather than trapping it behind the finish. The exact materials and sequence depend on the construction type and whether the work is a replacement installation or a new-construction-grade opening.
A unit that is out of square or inadequately anchored can transfer stress to the surrounding finish as the home moves and temperatures change. Proper shimming, fastening, insulation, and perimeter sealing create a stable installation without relying on stucco or caulk to hold the assembly in place. The stucco should finish the wall cleanly, not carry the load of a door or window frame.
Rebuilding Lath and Stucco the Right Way
When stucco must be removed, the repair needs to reconnect with the existing wall system. Simply filling a void with patch material may look acceptable at first, but it can leave a weak edge that cracks as the wall expands and contracts.
A quality repair typically starts by preparing a clean substrate and installing appropriate backing materials. Where required, new lath should overlap and tie into the existing lath so the repair is supported rather than floating at the edge of the opening. Weather-resistive barriers must be lapped correctly to help maintain drainage behind the stucco.
Stucco is then rebuilt in compatible layers. Depending on the wall and repair area, this may include a scratch coat, brown coat, and finish coat. Each layer needs sufficient curing time and the right thickness. Rushing the process, applying material too heavily, or finishing over an unstable base increases the likelihood of shrinkage cracking and visible separation.
Texture matching deserves the same level of care. Smooth, lace, dash, sand, and Santa Barbara-style finishes all reflect light differently. A patch can be technically sound yet still stand out if the texture is not matched thoughtfully. For homeowners investing in new windows or doors, a blended repair protects the finished appearance and the value of the improvement.
Account for Movement, Heat, and Existing Conditions
Arizona homes experience dramatic surface temperatures. Dark exterior colors, direct sun exposure, and long summer afternoons can cause materials to expand at different rates. Window frames, door systems, sealants, flashing, framing, and stucco do not move identically, which is why perimeter details matter.
A properly sized and sealed joint around the new unit allows for normal movement without creating an open path for water or air. The right sealant and backer material should be selected for exterior exposure and joint depth. Overfilling a joint with rigid patch material can lead to cracking where the frame meets the stucco, while excessive sealant can look uneven and collect dirt.
There is also a practical trade-off with existing cracks. If the surrounding stucco has widespread age-related cracking, a localized installation repair will not erase every condition across the elevation. A responsible contractor should distinguish between damage caused by the project, pre-existing cosmetic cracking, and areas that may warrant broader stucco restoration. Clear expectations protect the homeowner and lead to a better final result.
What Homeowners Should Expect From a Careful Installation
Before installation, ask how the contractor plans to remove the existing unit, protect the stucco, weatherproof the opening, and restore the finish. The answer should go beyond “we will patch it.” It should explain who handles framing adjustments, lath, barriers, stucco texture, paint touch-up, cleanup, and any necessary coordination for HOA requirements.
After the work is complete, inspect the exterior in daylight from several angles. Look for a secure unit, consistent perimeter sealant, clean stucco transitions, and a texture repair that blends reasonably with the surrounding wall. Fresh repairs may cure or weather slightly differently at first, particularly on an older finish, but they should be properly bonded, neat, and free from obvious loose material.
The most dependable way to protect a stucco exterior is to choose an installation team that treats the opening as a complete wall-system detail. Greco Roman Windows and Doors approaches window and door projects with that full-scope mindset, from structural preparation and weatherproofing to precise stucco and finish restoration.
A new window or door should improve your home without leaving behind a visible construction story. Schedule a free in-home consultation to discuss your opening, exterior conditions, and the installation approach that will serve your home well for years to come.