
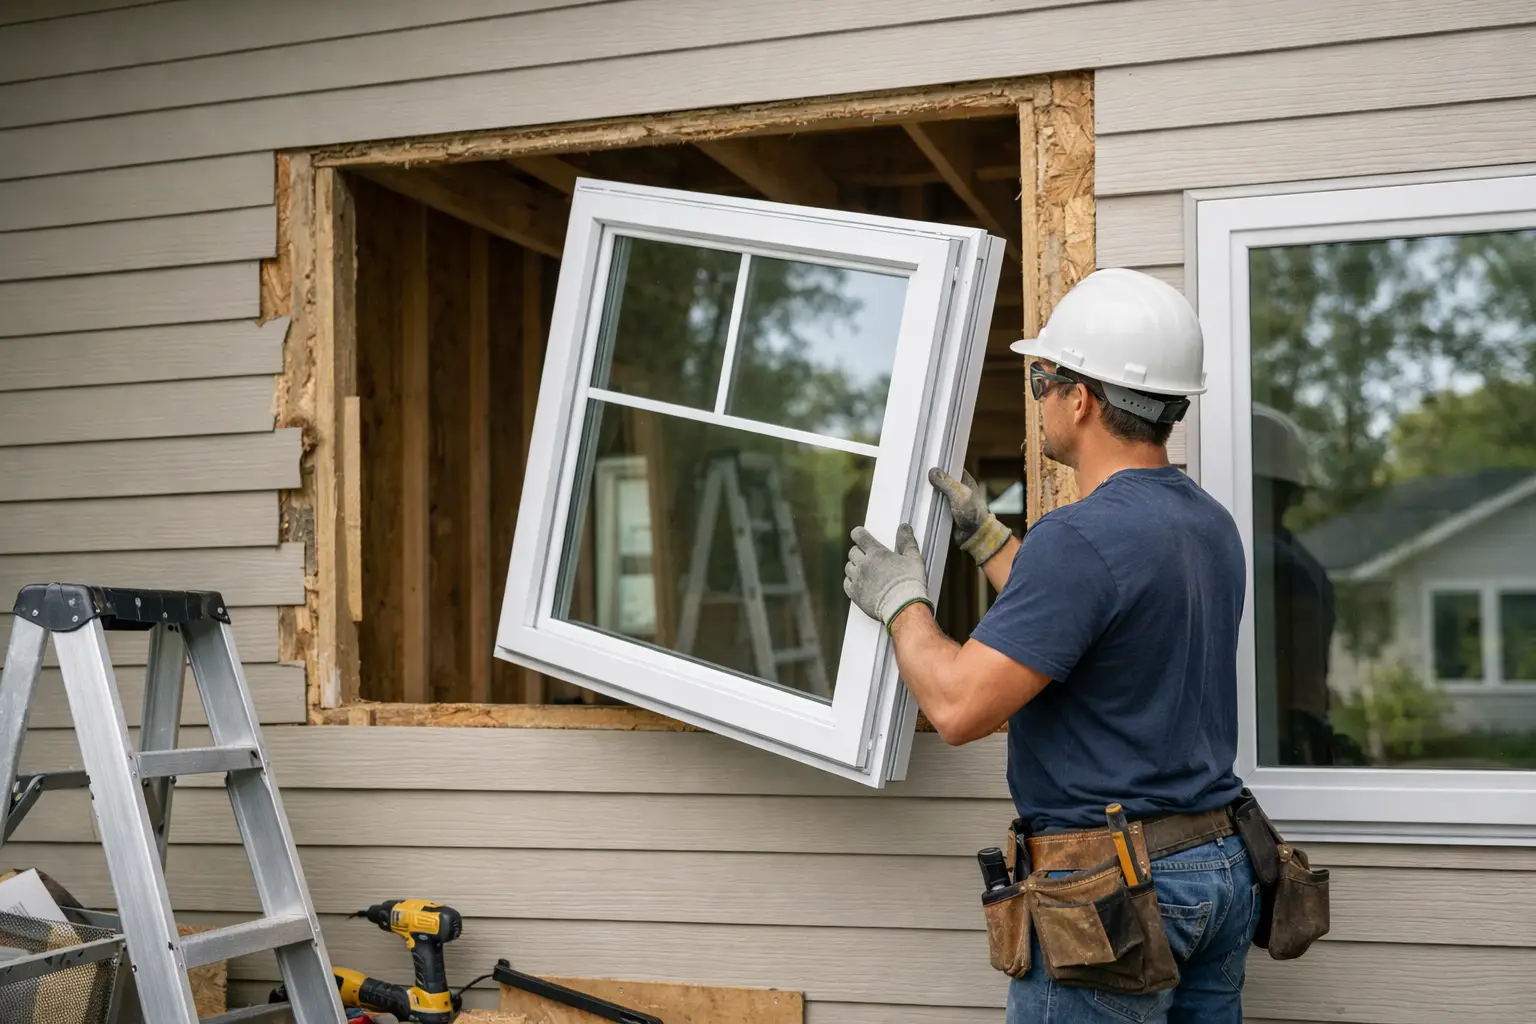
A dark hallway, enclosed dining room, or closed-off living area can make an otherwise well-kept home feel smaller than it is. Choosing to add window to exterior wall space is one of the most effective ways to bring in daylight, improve ventilation, and create a stronger connection to the outdoors. It is also a structural remodeling project, not simply a window installation.
For Arizona homeowners, the details matter even more. Extreme heat, intense sun exposure, stucco cladding, masonry construction, and HOA requirements can all affect the design, cost, and long-term performance of a new opening. The finished window should look as though it has always belonged there, while protecting the wall from heat, wind-driven rain, and moisture intrusion.
What Changes When You Add a Window to an Exterior Wall
An existing replacement window has an opening, framing, and exterior weather barrier already in place. A new window location starts with none of those conditions. The work involves determining what is inside the wall, creating a properly supported opening, installing the window with new-construction-grade flashing details, and restoring every interior and exterior finish.
That scope varies widely by home. A wood-framed wall may require careful reframing and a properly sized header to carry loads above the opening. A block wall can require cutting masonry, creating a reinforced opening, and matching the surrounding stucco. In either case, the installation team must protect the home while ensuring the wall remains structurally sound.
This is why a low initial price does not always represent the full cost of the project. A complete estimate should account for the opening modification, structural framing or masonry work, window unit, weatherproofing, insulation, drywall work, exterior restoration, and cleanup. If one of those items is excluded, it is worth understanding who will be responsible for it and how the final transition will be finished.
Start With the Wall, Not the Window Style
Homeowners often begin with a picture of a beautiful picture window or a pair of casements. Design is essential, but the first question is whether the desired wall can accept an opening in that location.
A professional site evaluation considers whether the wall is load-bearing, where roof or second-story loads transfer, and whether plumbing, electrical wiring, HVAC equipment, or ductwork runs through the area. The team also looks for foundation conditions, existing cracks, signs of past moisture issues, and access requirements on both sides of the wall.
In many Phoenix-area homes, exterior walls are finished with stucco over wood framing, block, or a combination of materials. The visible stucco does not reveal the full construction assembly behind it. Careful investigation before cutting protects the project schedule and prevents surprises after work has begun.
If engineering is required, it should be addressed before construction. A properly designed header, support system, or masonry reinforcement is not an upgrade to consider later. It is part of making the alteration safe and durable.
Placement affects comfort as much as appearance
The direction the window faces can change how the room feels throughout the year. A large west-facing opening may bring dramatic afternoon light, but it can also add considerable solar heat gain during an Arizona summer. South-facing openings can be effective when paired with the right glazing and shading strategy. North-facing windows generally offer softer, more consistent daylight.
Window size and sill height matter, too. A larger unit can transform a room, yet an oversized opening may limit furniture placement, reduce wall space, or create more glare than expected. A thoughtful consultation balances the view, natural light, privacy, ventilation, and energy performance rather than focusing on one benefit alone.
Choosing a Window for Arizona Conditions
A new opening is an opportunity to choose a window that suits the home, not merely match what was there before. Vinyl, fiberglass, wood-frame, and thermally improved aluminum windows each offer different strengths in appearance, budget, durability, and maintenance.
Vinyl is often a practical choice for homeowners seeking energy efficiency and value. Fiberglass provides a strong, stable frame with a refined appearance and excellent performance in changing temperatures. Wood-frame options can complement traditional or custom homes, while thermally improved aluminum can provide narrow sightlines and a contemporary profile where design calls for it.
The glazing package deserves equal attention. Low-E coatings, insulated panes, and appropriate solar heat gain ratings can help reduce the burden on cooling systems while keeping interiors more comfortable near the window. The best selection depends on the window orientation, shade available from overhangs or landscaping, and the homeowner’s priorities for appearance and performance.
Operable windows add fresh air, but they also require practical planning. Casement and awning windows can provide controlled ventilation and a tight closure. Sliding windows may suit locations where an outward-swinging sash would interfere with a walkway or patio. Fixed picture windows maximize views and light but do not provide ventilation. There is no universal right choice, only the right balance for the room.
Permits, HOA Review, and Code Details
Creating a new exterior opening commonly requires a permit because the project changes a structural wall and may affect energy-code requirements. Permit requirements vary by municipality and by the scope of work, so they should be verified before the construction date is set.
HOA approval may also be needed, particularly when the change alters the home’s front or street-facing elevation. Associations may regulate frame colors, grille patterns, window proportions, and exterior finish appearance. Addressing these requirements early is far easier than pausing a project after materials have been ordered.
Code considerations can also affect the final design. Bedroom windows may need to meet emergency escape and rescue opening requirements. Tempered safety glass can be required near doors, stairs, or certain floor-level conditions. These rules are not decorative details. They help ensure the new window serves the room safely and appropriately.
The Installation Details That Protect the Home
The most visible part of the project is the finished window. The most consequential work is often concealed behind the stucco and interior trim.
After the opening is laid out and the wall is properly supported, the installer creates the new framed or masonry opening to the window manufacturer’s specifications. The window must be level, plumb, square, and securely fastened so it operates correctly and maintains even reveals. Gaps around the frame are insulated carefully, without overfilling or distorting the unit.
Next comes the weatherproofing system. Depending on the wall assembly, this may include flashing tape, a sill pan, vapor barriers, tar paper, foam and lath, and properly layered integration with the existing water-resistive barrier. The sequencing is critical: materials must shed water outward rather than trap it behind the exterior finish.
For stucco homes, the surrounding finish should be removed and rebuilt with enough care to create a clean transition. Texture and color matching can be affected by the age of the existing stucco, sun exposure, and prior paint history. Honest planning recognizes that an exact invisible match is not always possible, especially on older walls, but skilled restoration can make the result look intentional and well integrated.
Inside, the work may include drywall patching, texture matching, casing or trim installation, and paint-ready finishing. A complete project leaves the homeowner with a finished opening, not a window surrounded by loose ends.
Budgeting for a New Window Opening
The price to create a new window opening depends more on construction conditions than on window size alone. Structural complexity, wall material, access, exterior restoration, custom sizing, glazing upgrades, permits, and finish work all influence the investment.
A straightforward opening in accessible wood framing may fall into a different category than a large opening in a block-and-stucco wall requiring engineering and extensive exterior restoration. Premium window materials and high-performance glass can increase the initial cost, but they may support long-term comfort, lower cooling demand, and stronger resale appeal.
Greco Roman Windows and Doors approaches these projects as full-scope home improvements. Installation packages can be tailored to the home’s construction needs, the desired finish level, HOA constraints, and the homeowner’s budget. The goal is not to force every project into the same package, but to clearly define the work required for a lasting result.
Signs You Should Discuss the Project With a Specialist
A consultation is especially valuable if the proposed opening is on a second story, near a corner, beneath a roof load, in a block wall, or on a heavily stuccoed elevation. It is also wise when the room has unusual heat buildup, difficult access, suspected concealed utilities, or a finish that needs careful preservation.
Bring photos of the room, exterior elevation, and any inspiration images to the appointment. A clear conversation about how you use the space is often more useful than choosing a frame color first. Whether the goal is a brighter kitchen, a quieter home office, a better desert view, or improved airflow, the right opening begins with understanding how the room should perform.
A new window can change the character of a home in a single day of finished work, but its value rests on the planning and craftsmanship behind the wall. Schedule a free in-home consultation to evaluate the possibilities, understand the construction requirements, and make the new view feel like it was always part of the home.