
A door that sticks, leaks hot air, or no longer feels secure rarely becomes urgent on a convenient schedule. The residential door replacement timeline helps homeowners plan around the real work involved: selecting the right system, ordering a custom-sized unit, preparing the opening, completing installation, and restoring the surrounding finishes. For Arizona homes, that timeline can be especially important when summer heat, stucco exteriors, HOA requirements, or a structural opening change are part of the project.
A straightforward replacement entry door may move quickly once materials arrive. A new multi-slide, stacking, bi-fold, or oversized patio door can require more planning because it affects framing, weatherproofing, finishes, and sometimes permits. The most reliable schedule is not the fastest promise. It is the one that allows the door, the opening, and the home’s exterior envelope to be handled correctly.
The Residential Door Replacement Timeline at a Glance
Most door projects follow a similar path: consultation and measuring, product selection and ordering, pre-installation planning, installation, then finish restoration and final review. For a standard replacement door in an existing opening, homeowners can often expect several weeks between the first consultation and installation day. Custom products and more involved alterations commonly extend the schedule.
The installation itself may take one day for a conventional entry or sliding patio door. However, homeowners should separate installation day from total project completion. When framing changes, stucco work, drywall restoration, paint matching, or specialized exterior finishes are involved, the complete scope may take multiple days or require separate return visits.
Phase One: Consultation, Assessment, and Measurements
The process begins with an in-home consultation and a careful review of the existing opening. This is more than measuring width and height. A qualified installer evaluates the condition of the frame, wall construction, threshold area, exterior cladding, drainage path, and any signs that the original installation has allowed air or moisture intrusion.
For older Arizona properties, the team may also assess block frames, wood framing, stucco depth, interior drywall returns, and whether the new door will require a different rough opening. A replacement door that appears to be a simple swap can reveal hidden damage or out-of-square conditions once the existing unit is removed. Identifying those possibilities early makes the estimate more accurate and helps prevent avoidable schedule changes later.
This consultation is also the time to discuss how the door should perform. An entry door may prioritize security, curb appeal, and heat resistance. A patio system may prioritize expansive views, easier access to an outdoor living area, and smooth operation. The right recommendation depends on the opening, the home’s architecture, exposure to sun, and the homeowner’s budget.
HOA Review and Design Decisions
If the property is governed by an HOA, approval can affect the schedule before an order is placed. Some communities regulate exterior colors, panel styles, glass configurations, grids, hardware finishes, and door visibility from the street. Approval periods vary, so submitting the selected design promptly helps keep the project moving.
Homeowners should also use this stage to make final choices on hardware, sidelights, screens, finishes, and operating configuration. A late change after the order is released can mean added cost and a new manufacturing lead time.
Phase Two: Product Ordering and Manufacturing
Once measurements and specifications are confirmed, the door is ordered. This is often the longest portion of a residential door replacement timeline because exterior doors are typically built or configured for a specific opening rather than pulled from a standard shelf.
Lead times depend on the manufacturer, product line, material, size, finish, glass package, and hardware selection. A standard-size door in a common configuration may arrive sooner than a custom wood entry system or a wide multi-panel patio door. Specialty colors, decorative glass, impact-rated options, and large aluminum or fiberglass systems can add time as well.
A professional contractor should communicate the estimated lead time clearly while recognizing that manufacturing schedules can shift. The goal is not to offer an unrealistic date. It is to coordinate installation when the complete door system, required materials, and trained installation crew are ready.
Phase Three: Pre-Installation Planning
Before installation, the project team confirms delivery, reviews the scope, and prepares for the conditions around the opening. This step matters most when a door replacement includes more than fitting a new unit into an existing frame.
For example, converting a standard sliding door opening into a larger stacking or bi-fold system may require engineering review, structural framing, header modifications, and permits. A new opening in an exterior wall requires an even more detailed plan. These projects may take longer, but they can transform natural light, traffic flow, and the connection between interior rooms and outdoor spaces.
Pre-installation planning also addresses protection for floors, furniture, landscaping, and adjacent finishes. Greco Roman Windows and Doors approaches this work with the same care given to the visible door itself. A polished final result depends on protecting the home and accounting for the details around the opening, not simply placing a new unit in the wall.
Installation Day: What Actually Happens
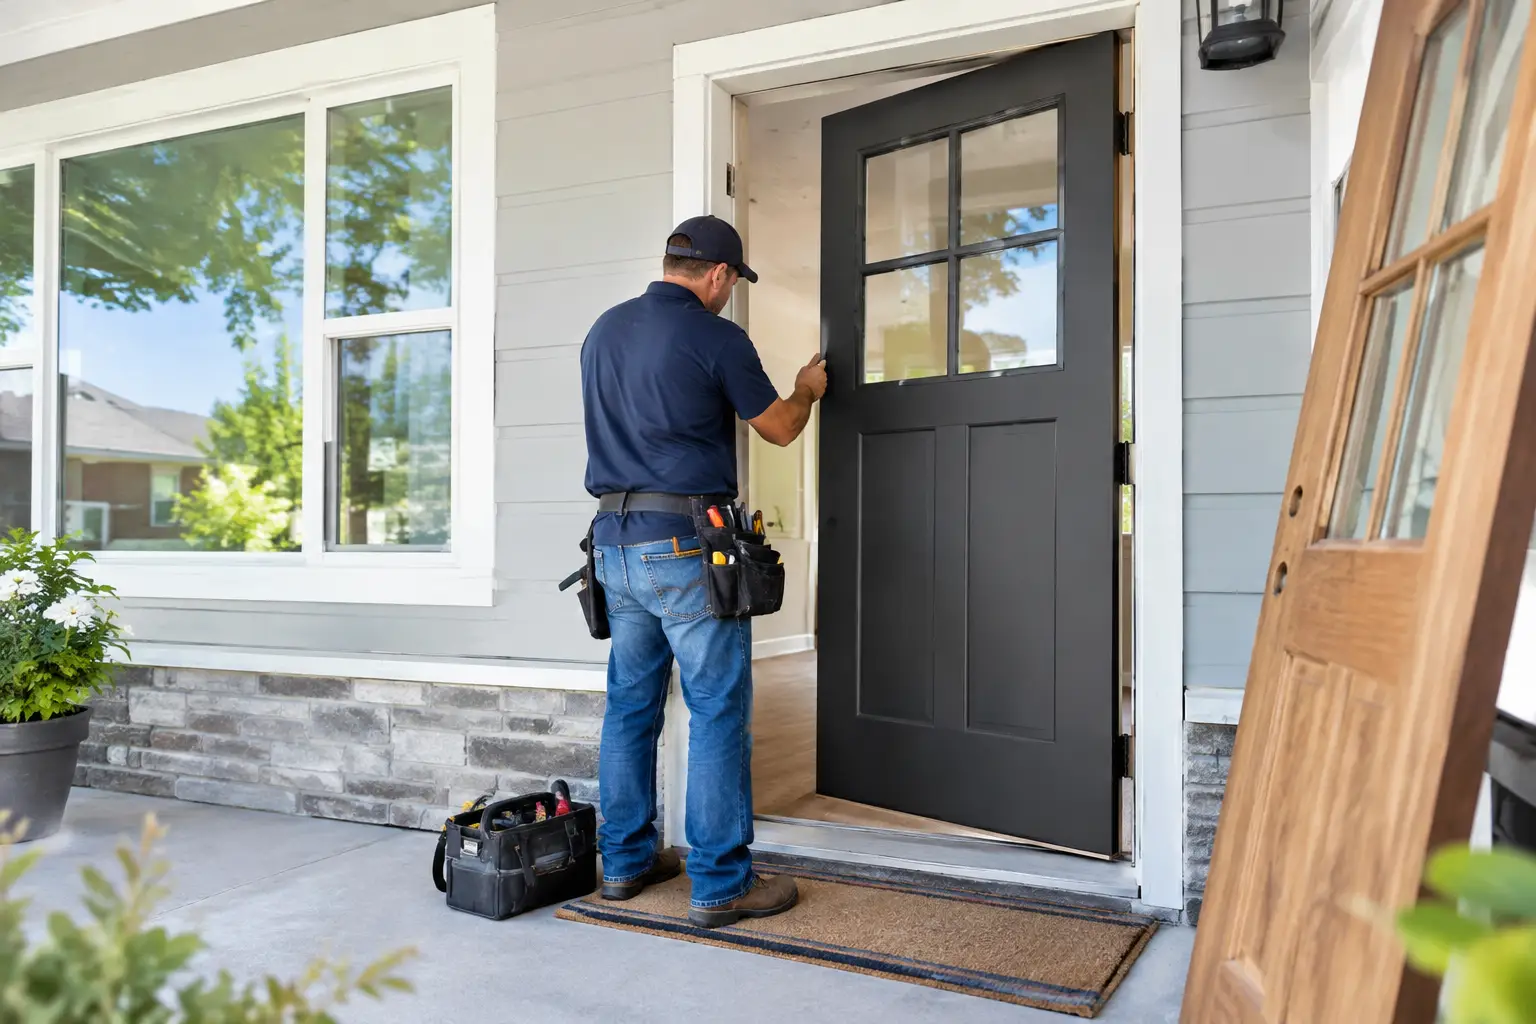
On installation day, the crew begins by protecting the work area and removing the existing door with care. Once the old unit is out, the opening can be inspected directly. The team checks framing, sill condition, level, plumb, and square before positioning the replacement system.
The new door is then secured and adjusted for proper operation. This is where craftsmanship has a practical effect. A door can look attractive on day one yet perform poorly if it is not aligned correctly, if the threshold is unsupported, or if the weatherproofing is incomplete. Smooth operation, even reveals, reliable locking, and a consistent seal are all signs that the installation is being handled with precision.
For exterior door projects, proper flashing, sealants, foam, vapor barriers, tar paper, and drainage details are not optional extras. They help defend the wall assembly against wind-driven rain, dust, intense heat, and air leakage. The specific materials and sequence depend on the wall construction and door system, but the objective remains the same: create a durable transition between the new unit and the home.
How Long Will Your Home Be Open?
Homeowners are understandably concerned about security and exposure while a door is being replaced. For a standard installation, the opening is typically unsecured only during the active removal and placement process. More complex alterations can take longer, particularly when framing or exterior finish work is required, but the crew should plan the work so the home is protected at the end of each day.
If the project involves a large patio opening, discuss temporary protection and daily site conditions before work begins. Clear expectations are especially valuable when weather, pets, children, or occupied living spaces are part of the equation.
Finish Work Can Extend the Schedule
A complete door project may continue after the new unit is operating. Exterior stucco repair, foam and lath work, drywall patching, trim installation, caulking, painting, and texture matching can require drying time and separate appointments. This is common when the new system has a different frame profile or when the opening has been modified.
Trying to rush finish restoration can leave visible cracks, mismatched textures, or compromised exterior protection. A better approach is to allow each trade and material enough time to perform properly. The door should feel like it belongs to the home, not like an afterthought attached to it.
Final Inspection and Aftercare
The final review is the homeowner’s opportunity to operate the door, inspect hardware, confirm locks and screens function correctly, and ask questions about care. The team should verify that panels glide or swing as intended, weatherstripping makes consistent contact, and finish details meet the agreed scope.
Keep manufacturer information and warranty documents in a safe place, and report any adjustment concerns promptly. New doors can settle slightly with normal use, particularly large or heavy systems, and responsive aftercare protects the value of the investment.
The best time to start planning is before a failing door becomes a security concern or a source of escalating cooling costs. Schedule a free in-home consultation early, especially if you are considering a custom system or a larger opening, so the project can be designed around your home rather than rushed around a problem.